Difference between revisions of "Installing Elsewhere"
| Line 43: | Line 43: | ||
1. Don't worry about ever powering up the motherboard. We just want the 3.3v, 5v and 12v power to the spine and beyond. | 1. Don't worry about ever powering up the motherboard. We just want the 3.3v, 5v and 12v power to the spine and beyond. | ||
2. Install the software as shown at [[Software#Repetrel_.26_Firmware_-_Version_2.855_as_of_19_Apr_2016|Repetrel]] | 2. Install the software as shown at [[Software#Repetrel_.26_Firmware_-_Version_2.855_as_of_19_Apr_2016|Repetrel]] and [[Software#Ecosystem_Apps|Ecosystem Apps]]. | ||
3. Install the drivers as shown at [[Software#Installing_Drivers|Drivers]] above. | 3. Install the drivers as shown at [[Software#Installing_Drivers|Drivers]] above. | ||
Revision as of 19:18, 2 November 2018
Installing on Another Computer
Note that all Hydra and EHR models have the new tablet interface boards, and no jumpers are required.
We run versions of Repetrel on Windows 7, 8 and 10 on both Intel and AMD processors; however, you may not be able to run the printer from every unique environment possible. Please know that we cannot help troubleshoot every unique environment - this is why we include a full Tablet PC with each printer. These instructions work for most external installs:
- Install Repetrel, as per side menu under Software and Firmware.
- Install Drivers.
- Install Ecosystem Apps.
- Navigate to C:\EcosystemApps\Slic3r\slic3r.exe and execute it from the windows browser BEFORE LAUNCHING Repetrel.
- Go to File > Preferences and set the Mode to Expert, check all four boxes, and click OK. Then close Slic3r and launch Repetrel.
My 30M/ESR Shipped with a Tablet
1. Don't worry about ever powering up the tablet - you can remove it. We just want the 3.3v, 5v and 12v power and USB connectivity to the spine and beyond.
2. Install the software as shown at Repetrel above, and Ecosystem Apps below.
3. Install the drivers as shown at Drivers above.
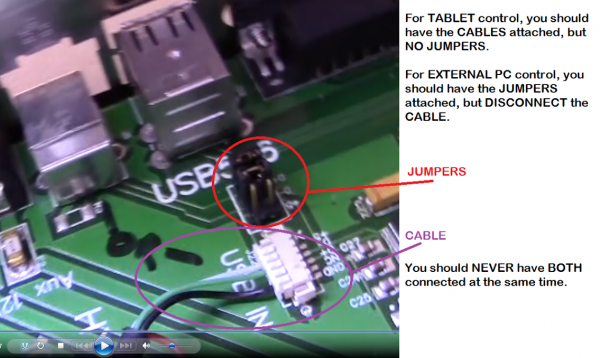
4. Units shipped before mid 2017 have the first tablet interface board, and need to have jumpers in place to connect the USB port. Units shipped after mid 2017 have the new tablet interface board, and there is no need for jumpers. If you have the OLD one, unplug the cables for the tablet USB connectivity and install PC Jumpers as shown:
See the video.
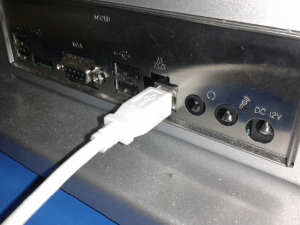
5. Run a USB A to B cable from your PC to the USB-B port on the left side of the Printer:
My 30M/ESR Shipped with a Motherboard
1. Don't worry about ever powering up the motherboard. We just want the 3.3v, 5v and 12v power to the spine and beyond.
2. Install the software as shown at Repetrel and Ecosystem Apps.
3. Install the drivers as shown at Drivers above.
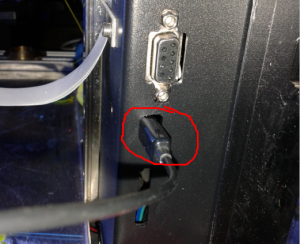
4. Run a USB to MiniUSB cable from your PC to the MiniUSB port on the right side of the Spine:
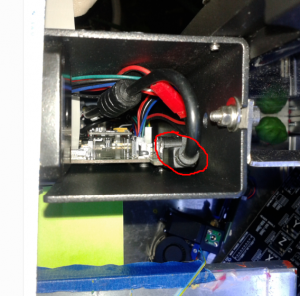
5. Run a USB to MiniUSB cable from your PC to the MiniUSB port on the top, inside of the Spine:


