FAQs
So, some folks have questions about how they can make certain changes in their prints. I will answer the most frequently asked questions below.
The following all apply to v1, v2, and v3 of Repetrel.
How do the various settings all work together?
This is pretty easy, once you know the flow.
- You set the recipes for the parameters (extrusion width, infill patterns/density, print speed, layer thickness, head/bed temperatures, etc.; save the recipes (with descriptive names - don't overwrite the originals), and close the recipe editor.
- You highlight your properly scaled, positioned, rotated stl and select the print, printer, and extruder (filament) recipes to use, and go to Process > Slice with Slic3r.
- You review your gcode to ensure that you got what you were hoping to get; review the layer-by-layer rendering as well as the actual settings for temperature, layer thickness (Z moves and M756 flow settings), etc.
- You load the print head. Default settings from the head are displayed in Repetrel.
- You ensure that the data on the print head reflect your preheat temperature (if any) and proper nozzle diameter (and prime/unprime settings if your custom material requires adjustment) - these settings should be flashed to the head.
- You do any preparation (preheating, bed treatment, priming material, etc).
- You press Print. Upon pressing print, the following happens:
- Head settings are sent from repetrel to the printer.
- Gcode is sent from repetrel to the printer. Since gcode is sent second, this will overwrite any head-based settings if gcode has different values
How do I change or clean nozzles?
Carefully:
- Heat to the printing temperature of the material loaded.
- Move the manual lever to the left, retracting material until it is free of the hobbed shaft, then remove by hand.
- Turn off heat to the head and remove it from the yoke.
- With a 1/4" driver or wrench, remove the nozzle.
- Inspect the nozzle cavity for any stray material; if found, remove with tweezers, solvent, air pressure or other means.
- The old nozzle can be cleaned with a fine drill bit the same size as (or slightly smaller than) the nozzle diameter; some users also soak the nozzle in an appropriate solvent to remove all material.
- With a 1/4" driver or wrench, attach the new nozzle.
- Use normal procedure for heating and loading filament.
How do I change nozzle sizes?
There are two places where we consider nozzle size:
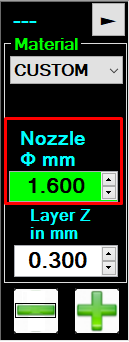
1. On the head, we use the number you have for nozzle diameter to make our flow calculations. See Flow Rate for details about how we determine how fast to spin the motor so that you get the proper volume per second of deposition. This image is for printing with a 14# (fourteen gauge, or 1.6mm ID) luer needle:
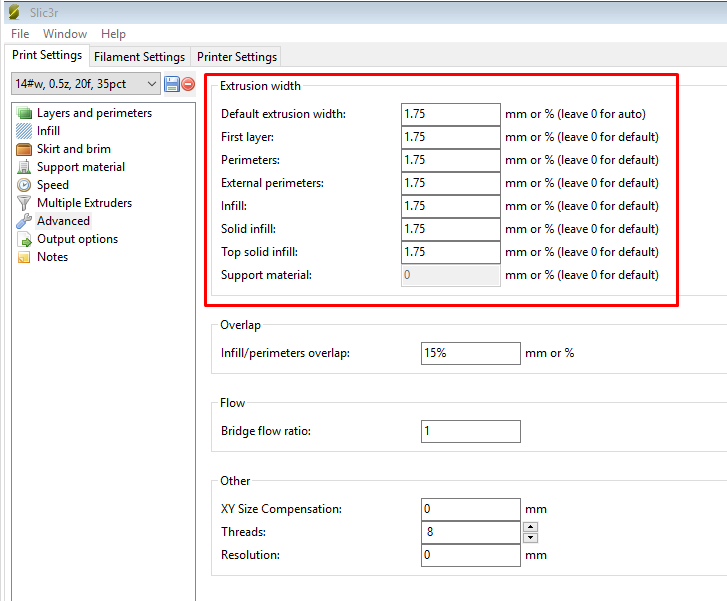
2. In the recipe, we use the extrusion width numbers to determine how far apart to place each bead of material. We expect your extrusion width to be 10% wider than your nozzle diameter (to allow for a nice sandbag-shaped cross section). This image is for printing with a 14# (fourteen gauge, or 1.6mm ID) luer needle:
This applies to everything we print, from PLA to Porcelain to PEEK.
Please note that we do NOT use any other variable relating to nozzle diameter. Not Bridge Flow Ratio. Not Nozzle Diameter. Not Extrusion Multiplier. All of these variables affect the E values in your gcode. Which we then ignore.
How do I convert DXF files to gcode?
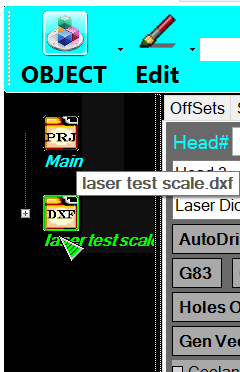
1. In Project Composer, open your DXF:
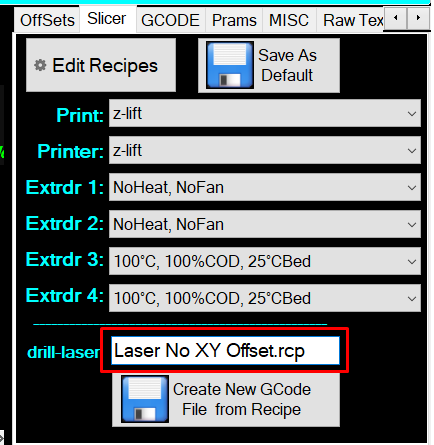
2. On the Slicer tab, double click in the text box next to drill-laser, and select the recipe:
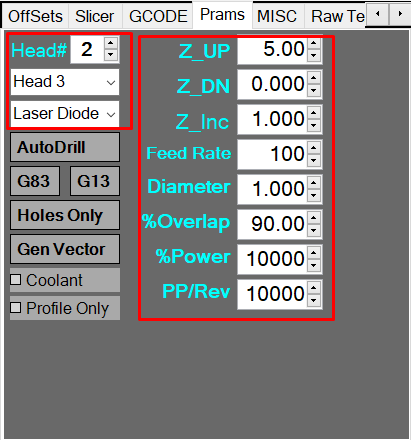
3. On the Prams tab, configure the head and settings to use:
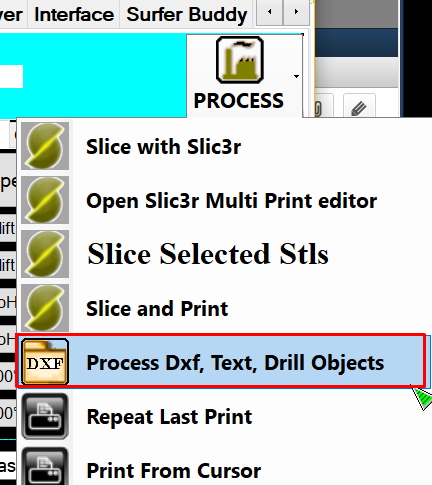
4. Process > Process DXF, Text, Drill Objects:
5. Profit!
I get errors on v4!
So, if your gcode is just for one head, which isn't specified, and you only have one head loaded, Repetrel always has and will still print with that head.
Missing Tx Argument
However, not coding the tool to be used is unacceptable in the CNC world, and we want people to get used to coding in their tool assignments. And yes, it should say Tx command, not Tx argument.
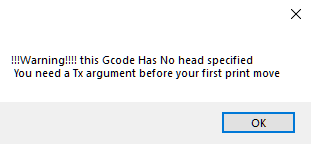
As detailed at the very top of the Gcode Page, you should use a T# command, where # is the slot of the tool you will use, starting with T0 for the left most slot, T1 for the second from the left, etc. Failure to do this will pop up this warning:
This is non-fatal; you can just hit enter or click "OK" and continue, but we want to encourage you to specify which tool to use.
Heads Not Installed
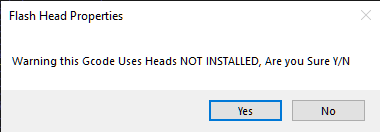
So, you've bypassed (or didn't get) that first error, and now you get another error:
This means that when your file was loaded, it was scanned for any Tx commands - but when you pressed print, the tool positions occupied on the printer don't match the tool assignments in the gcode. Again, this is non-fatal, and if you know your setup is correct, you can hit enter or click "Yes". But, again, we want you to know that the configuration detected on the printer does not match the configuration specified in the gcode.
But It Matches!
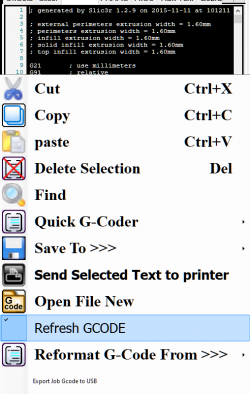
So, perhaps you've gotten these errors, and then edited your gcode file to specify T1, which matches the slot where your head is loaded. Well, we don't scan the gcode a second time 'unless your right-click in the gcode and select "refresh gcode"' - doing this will eliminate getting this message after you have edited in the assignment:
