UV and Clench
Using the UV Array, the UV Pen, and the Clench Valve are a little complicated (but closely related), so here are more details and examples.
UV Array
Please use personal protective equipment and follow your facility safety guidelines at all times.
Hardware
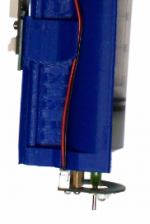
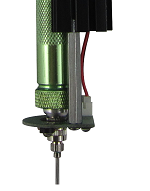
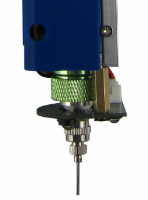
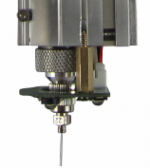
The first step is to ensure that the array is properly mounted:
If you are using an SDS head (which takes plastic syringes), we mount the array with M3 standoffs:
If you are using an EMO, VOL, KRA, KR2, or TAM head (which take aluminum or stainless reservoirs), we mount the array with M4 standoffs:
The next step is to ensure that the UV Array is connected to the material head circuit board.
Firmly but gently grasp the 18-pin connector and pull it straight away from the circuit board. You will seat the black wire in the top row, third position (marked "Gnd" on the board), and the red wire in the bottom row, second position (marked "Aux" on the board, if you can read it).
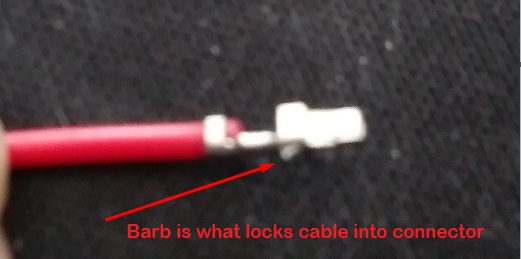
The best method to seat these crimped wires is to align the barb on the crimp up or down to point toward the plastic finger that will hold it in place. The barb is tiny, and is on the side that extends down to the wire insulation (sorry about the focus):
On your connector, since the black wire will go on the top row, the barb should be pointing up; the red wire will go on the bottom row, and the barb should be pointing down. If you pull gently on the wires, you should feel the barb catch on the plastic finger, and thee wire should remain seated in the connector.
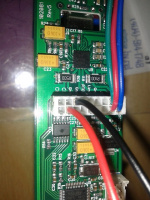
When you seat the connector on the circuit board, it should now look like this:
If you load the head onto the printer, you should be able to toggle the COD button on the interface and control the UV Array intensity:
Depending on your wavelength, this might not be visible to the eye without using a full spectrum camera (some smartphone cameras work). The D6 LED on the head's STM-103 circuit board should always be illuminated with the relative intensity of your M106 output, between 0 and 100 percent.
Gcode
Now that the hardware is working, we need to set up the gcode to control it. The array can be used primarily in three ways. Note that there is a safety timeout, so you can't simply turn the array on and leave it on; there must be a printing (G1 with E value) move involved.
Basic while Printing
If you want your array to turn on at a certain percentage, stay on while printing, and later (or at the end of the job) turn off, a simple M106 command is all that you need:
M106 T12 S25
This command is decoded and executed by the printer as follows:
- M106 (Set Cooling/LEDs)
- T12 (Second head from the left)
- S25 (On at constant 25% duty cycle)
Note, M106 T12 S0 is the same as M107 T12; either will turn it off.
Basic Between Layers
If you want your array off while printing, but then want to cure the layer, you will toggle the array on while you pass it over your print. You can add this to your layer change gcode in your slicer recipe if you want to do it after every layer:
 ;---- BEGIN COD CODE
 G91 ; relative moves
 G0 Z5 ; drop bed
 G90 ; absolute moves
 G0 X130 Y110 ; move into position
 M106 S100 T13 ; turn on T13 UV at 100%
 G1 X140 Y110 F100 ; move 10 mm in the X at 100 mm/min
 G1 X140 Y120 F100 ; move 10 mm in the Y at 100 mm/min
 G1 X130 Y120 F100 ; move -10 mm in the X at 100 mm/min
 G1 X130 Y110 F100 ; move -10 mm in the Y at 100 mm/min
 M106 S0 T13 ; turn off T13 UV (set it to 0%)
 ;--- END COD GCODE
These commands are decoded and executed by the printer as follows:
- G91 (Use relative moves)
- G0 (Non-working move)
- Z5 (+5 mm in the Z)
- G90 (Use absolute moves)
- G0 (Non-working move)
- X130 (To position X130)
- Y110 (To position Y110)
- M106 (Set Aux (UV))
- S100 (100% duty)
- T13 (On Tool in yoke 1, slot 3 (third from left)
- G1 (Working (printing) move)
- X140 (To position X140)
- Y110 (To position Y110
- F100 (At 100 mm/min)
- G1 (Working (printing) move)
- X140 (To position X140)
- Y120 (To position Y120
- F100 (At 100 mm/min)
- G1 (Working (printing) move)
- X130 (To position X130)
- Y120 (To position Y120
- F100 (At 100 mm/min)
- G1 (Working (printing) move)
- X130 (To position X130)
- Y110 (To position Y110
- F100 (At 100 mm/min)
- M106 (Set Aux (UV))
- S0 (0% duty)
- T13 (On Tool in yoke 1, slot 3 (third from left)
Advanced
If you want your array to come on at a certain value, but only while making extrusion moves:
M106 T12 P100
This command is decoded and executed by the printer as follows:
- M106 (Set Cooling/LEDs)
- T12 (second head from the left)
- P100 (during extrusion moves at 100% duty cycle)
